
You can make fresh, delicious homemade bread! These step by step instructions, homemade bread recipes and easy tips will help you learn to do it!
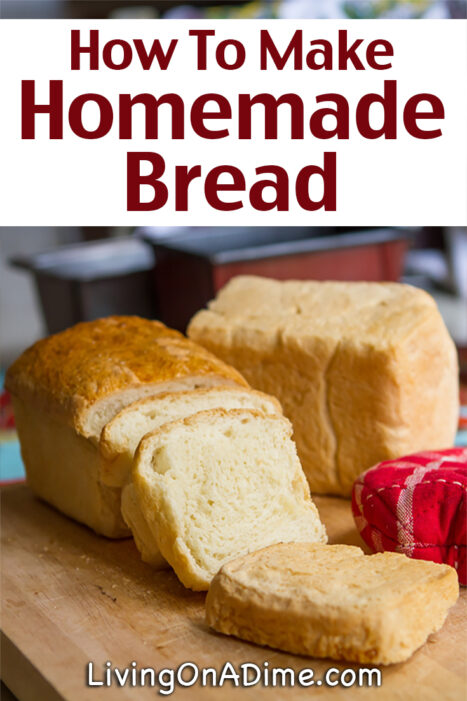
How To Make Homemade Bread – Baking Basics
Here are some easy tips about how to make homemade bread. Don’t let all this information make it seem too difficult. Once you get used to it, it really isn’t much harder to make homemade bread than to bake a cake. Just read the information and then follow the recipe step by step.
I once read a book by an older woman about how to bake a pie. She said bake one every day for 2 weeks and at the end of that time you will know how to bake a pie.
That rule applies for many things, including bread baking. It may seem a little difficult at first, but after you have made bread 14 times, you will get more confident.
How To Proof The Yeast
Before baking your bread, it is good to proof the yeast. Proofing is a way to test to see if your yeast is viable. Then you don’t go to the trouble of making bread and wasting ingredients if the yeast is dead. Proofing the yeast also gives the bread a better start.
Unless the homemade bread recipe states otherwise, heat 1/4-1/2 cup of the water to 120-130° or until it is hot when you put your finger in it but not so hot that it burns.
The water can’t be too hot or too cold. This is one of the most important parts of making the bread. If it it too cold, the yeast will not fully activate and if it is too hot, the yeast will die. In either case, the bread will not turn out the way it should. With practice and time, you will learn to tell when you have the correct temperature.
When the water is hot enough, add part of the sugar (about 2 Tbsp.) to the water and then the yeast. You add sugar because yeast feeds on sugar.
The yeast should start foaming, which tells you it’s good. It also means that you haven’t gotten the water too hot.
If nothing happens, your yeast is dead for one reason or another so you need to get some new yeast or try it again with a different water temperature.
Some recipes direct you to add the yeast with the flour and other ingredients, so you can’t proof the yeast. That’s OK because those recipes make up for it by calling for you to mix the ingredients with a mixer.
Before I share the homemade bread recipe, here are some useful tips for baking bread:
- You don’t always have to use as much yeast as the recipe calls for. If a bread recipe calls for 2 packages of yeast and it makes 2 loaves of regular bread, you can usually just use 1 package to save a little.
- If you plan on making bread on a regular basis, you might want to buy yeast in bulk or in the jars because it is much less expensive.
- When you can, add 1/2 cup to 1 cup of mashed potatoes to your bread recipe. Alternatively, you can use water you have used to cook your potatoes in place of regular water. Yeast loves potatoes and the more it eats, the bigger it grows, making the bread lighter and fluffier.
- Never add salt with your yeast and water. The salt will kill the yeast.
- Start with all of the ingredients for your homemade bread at room temperature. Take the eggs out of the refrigerator and let them warm up to room temperature ahead of time.
- If the recipe says to add enough flour to make a stiff dough, just add the flour until it is slightly sticky. Then put the last 1/2 cup or so of flour on your kneading surface and knead the last of the flour into the bread. If you get too much flour in the recipe, it makes the bread tough.
(When making homemade bread, beginners sometimes put in all the flour that the recipe calls for and then add MORE flour on the board to knead it, causing the dough to get too stiff.)
- You can’t knead bread too much. Knead until it is very smooth and elastic, usually about 10-15 minutes. I know that is a long time. I made my best bread on the days my husband would come into the kitchen, spy my dough and start pounding on it. He had more strength than I and always did a better job of kneading.
- I always roll my homemade bread dough into a 9×14 inch rectangle; Then roll it jelly roll style and put it into the pan. This helps to get rid of any large air bubbles you might have in the dough that can leave large pockets and holes in your bread.
- I have tried many methods to raise bread, from putting it in a covered bowl on the stove to putting it in the car on a warm day. Here’s what works best. I heat my oven on the lowest temperature while I am mixing my dough. After about 5 minutes of heating, I turn the oven off, turn my oven light on and place the dough in my oven (and not covering it). It works great every time. The heat from the light seems to give it the right amount of warmth.
When I put the bread in the pans to rise, I also use this oven method. Then, when it is almost doubled in size, I leave it where it is and turn the oven on to the temperature that the bread is supposed to bake at and bake it. - Most recipes say to let bread double in size and then press your finger into it to see if it is ready. If the dent stays, it is ready. After you have made several loaves, you can pretty much tell when it is ready. When I use the oven method for raising dough from above, I skip this finger test because the bread finishes rising the last little bit while the oven is preheating.
- Most bread doughs can be frozen. Mix the dough and knead. Shape into loaves, mini loaves or rolls, not letting it rise. Wrap very well and freeze. When you want to use it, thaw and let it rise. It will keep in the freezer about 4 weeks, but after that the yeast starts going bad.
- When you freeze or store homemade breads, be sure to wrap them well so they don’t lose their moisture.
- If you don’t think you will use baked bread quickly, freeze part of it for later. Homemade bread can dry out and get moldy faster than store-bought bread so freezing the excess will prevent waste. This is why our great-grandmothers came up with recipes like bread pudding and French toast.
- If your homemade bread isn’t quite done but is getting too brown, you can tent it with foil. To test whether or not it is done, thump it with your fingers and it should sound hollow.
Jill’s Homemade Bread Recipe
Here’s my favorite homemade bread recipe. It is a cinnamon bread but when I want to make regular bread, I just make it into loaves without spreading the cinnamon and sugar on it. This makes 2 loaves of bread.
Ingredients
Filling for Cinnamon Bread:
Instructions
- Mix 2 cups flour with sugar, salt and yeast.
- Put the milk, water and margarine into a large mixing cup; Heat in the microwave to 120° or until it feels really hot when you put your finger in it. (The margarine doesn’t need to be melted.)
- Gradually add to the dry ingredients.
- Add the eggs and 1/2 cup more of flour.
- Stir in enough additional flour to make a stiff dough.
- Turn onto a lightly floured board and knead until smooth and elastic (or you can knead it in the bowl).
- Place in a greased bowl (It sounds strange, but I use bacon grease), turning to grease the top.
- Put in a warm place (like I mentioned above) and let it rise until doubled, about 35 minutes.
- Punch down and divide into 2 halves.
- Roll into a 14×9 rectangle.
- If you are making regular bread then, beginning at the 9 inch end, roll as you would a jelly roll, gently making it into a loaf.
- Divide and place in 2 greased 9×5 bread pans. (with bacon grease for added flavor, no it won’t taste like bacon)
- Let rise again for about 35 minutes until doubled.
- Preheat oven to 375°.
- Bake for 45-50 minutes. To see if it’s done, thump with your fingers. If it sounds hollow, it is done.
For Cinnamon Bread:
[dining]
Easy 5 Ingredient Bread Recipe:
This is a good frugal homemade bread recipe and is a great one to use when you are short of ingredients because it doesn’t require things like milk or eggs.
Grandma did most of her kneading and working the bread in her bowl instead of dirtying a counter. Tawra makes her bread this way and it works great every time.
PrintGrandma Suhler’s Homemade Bread Recipe
- Yield: 2 loaves or about 30 dinner rolls, depending on size
Ingredients
1 cup warm water (110°-115°)
1 pkg. or 1 Tbsp. yeast
½ cup sugar
1 tsp. salt
¼ cup oil, shortening or margarine (melted)
1 cup water or milk
6-7 cups all purpose four
Instructions
- Combine water and yeast until yeast dissolves and foams.
- Add sugar, salt, oil, and water.
- Stir in flour.
- Knead on a floured surface until smooth.
- Let rise until doubled in size.
- Divide dough into two pieces.
- Shape into loaves and place in greased loaf pans.
- Let rise again until doubled in size.
- Preheat the oven to 350°.
- Bake 20-30 minutes, until loaves are golden brown and internal temperature is 190°-200° or bread is hollow sounding when tapped.
- Remove from pans and cool.
Notes
*This dough can be used for bread, pizza crust, cinnamon rolls, dinner rolls, etc.
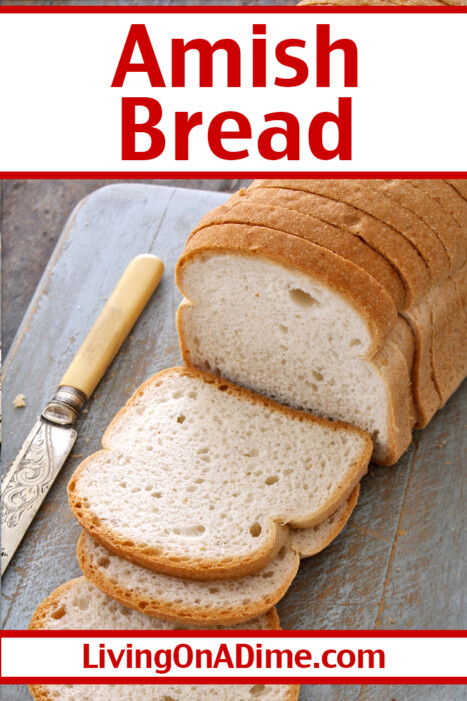
90 Minute Amish Bread Recipe

Soft, fluffy, and lightly sweet, this classic homemade Amish bread recipe makes the perfect comfort food — and it’s ready in just 90 minutes! Using ingredients you already have on hand and no complicated steps, you can have two golden loaves fresh from the oven in time for dinner. Enjoy it warm with butter, toast it for breakfast, or use it for the best sandwiches you’ve ever made.
Ingredients
5½-6 cups all purpose flour
1 Tbsp. or 1 pkg. instant yeast
⅓ cup sugar
2 tsp. salt
1½ cups water
½ cup milk
½ cup butter or margarine
Instructions
- In a large bowl, combine 2 cups flour, yeast, sugar, and salt. Stir until blended.
- Heat water, milk and butter until 120°-130°. The butter does not need to melt. (If you like, you can use an instant read laser thermometer to make sure temperature is right.)
- Add the warm liquid to the flour mixture.
- Beat 2 minutes at medium speed, scraping the bowl occasionally.
- Mix in 1 more cup of flour. Beat on high speed for 2 minutes, scraping the bowl occasionally.
- Stir in just enough remaining flour so the dough forms a soft ball.
- Knead in a bowl or on a lightly floured surface until it is smooth and elastic and springs back when lightly pressed with 2 fingers, about 6 to 8 minutes.
- Cover with a towel and let the dough rest for 10 minutes.
- Divide the dough into 2 equal pieces. Shape each into a loaf and place seam-side down into greased loaf pans.
- Cover with a towel and let rise in a warm place until doubled in size, about 45 minutes.
- Preheat oven to 400º.
- Bake 20-30 minutes, until golden brown and hollow-sounding when tapped. (Or when a meat thermometer inserted into the bread reads 195-200º.)
- Remove from pans by running a knife around the edges and inverting bread onto a wire rack. Rub tops with butter and let cool.
This post contains affiliate links. If you make a purchase using these links, we receive a small commission at no extra cost to you.


 Easy Party Dip Recipes Everyone Will Love! Perfect For The Big Game!
Leave a Reply